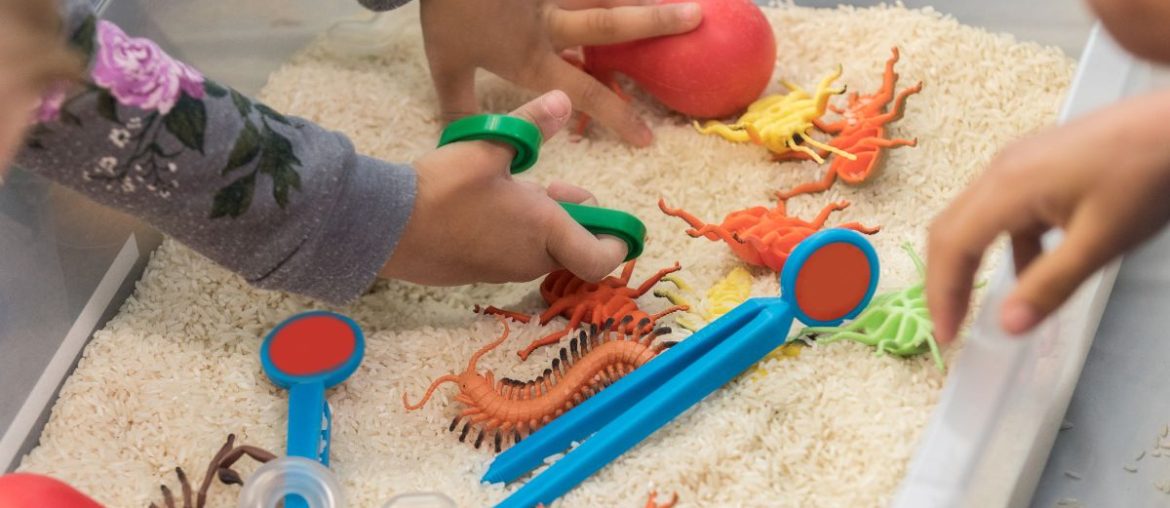
For moms of children with special needs, finding appropriate toys and activities that engage their little ones can be a daunting task. Sensory toys play a vital role in stimulating and enhancing cognitive, motor, and sensory development in children with special needs.
However, purchasing specialized toys can be expensive and limited in variety. The good news is that you can create your own sensory toys using everyday objects found at home, fostering creativity and resourcefulness while providing your child with personalized and engaging play experiences.
In this blog post, we will explore a variety of simple and cost-effective DIY sensory toy ideas that will captivate and entertain your child while supporting their developmental needs.
- Discovery Bottles: Fill clear plastic bottles with various items to stimulate different senses. Create a visual experience with colorful sequins, glitter, or buttons. Design an auditory delight with beads or bells. Encourage tactile exploration by including water beads, rice, or sand in separate bottles. Ensure the bottles are sealed tightly to prevent spillage.
- Sensory Bags: Fill resealable plastic bags with hair gel, baby oil, or water, and add small objects like buttons, foam shapes, or marbles. Squeeze out any air before sealing the bags tightly. Your child can press, squish, and manipulate the bags to experience different textures without the mess.
- Texture Boards: Attach various textured materials like sandpaper, bubble wrap, faux fur, or satin fabric to a sturdy piece of cardboard or wooden plank. Encourage your child to touch and explore the different textures, helping them develop their sensory perception and fine motor skills.
- Calming Sensory Jars: Fill a clear plastic or glass jar with water, glitter, and a few drops of food coloring. Seal the lid tightly and shake the jar to create a mesmerizing sensory experience. Your child can watch the swirling colors and glitter gradually settle, promoting relaxation and soothing their senses.
- Tactile Sensory Cards: Attach different textured materials like fabric swatches, sandpaper, sponge, or cotton balls to squares or rectangles cut from sturdy cardstock or laminate paper. Your child can touch and feel the different textures, fostering sensory exploration and fine motor skills.
- Homemade Playdough: Make your own playdough using flour, salt, water, and food coloring. Involve your child in the process of making the dough and let them explore the tactile sensation while kneading and shaping it. Add scents like vanilla or essential oils to enhance the sensory experience further.
- Sensory Bottles with Sound: Fill clear plastic bottles with a combination of colorful beads, rice, or small bells. The sound of the materials moving inside the bottle will captivate your child’s attention and enhance their auditory sensory experience.
- Sensory Balloons: Fill balloons with materials such as flour, rice, or lentils and inflate them to a comfortable size. Tie them securely and let your child explore the different textures and sensations by squeezing, bouncing, or rolling the balloons. (Stay away from balloons if your child has a latex allergy!)
- Sensory Treasure Hunt: Hide objects with different textures or scents around the house or in a designated play area. Provide your child with a checklist or picture cards and encourage them to find the hidden treasures. This activity promotes exploration, problem-solving, and sensory discrimination.
- Sensory Wall: Attach various tactile materials like textured fabrics, ribbons, zippers, or Velcro strips to a section of a wall. Your child can run their hands along the wall, explore the different textures, and practice their fine motor skills.
- Sensory Scarves: Attach different textured items such as ribbon strips, bells, or Velcro to the edges of colorful scarves. Encourage your child to wave, twirl, and explore the scarves, promoting visual tracking, motor coordination, and sensory integration.
- Homemade Sensory Brushes: Attach different textured items like feathers, soft fabric, or bubble wrap to the bristles or handles of hairbrushes, toothbrushes, or paintbrushes. Your child can experience different tactile sensations as they brush their skin or explore textures on various surfaces.
Engaging your child with special needs through sensory play is a powerful way to support their development and provide them with a personalized play experience. By creating DIY sensory toys with everyday objects, you not only save money but also foster creativity and resourcefulness.
These twelve simple yet effective ideas will help stimulate your child’s senses, encourage exploration, and promote their cognitive, motor, and social skills. Remember to always supervise your child during sensory play and adapt the activities to their individual needs and preferences.
Embrace the joy of creating these homemade sensory toys and witness the positive impact they have on your child’s growth and happiness.
Enjoy the journey of discovery and growth with your child as you embark on this sensory-filled adventure together!


